This guide walks you through how to choose, purchase, and activate your first subscription on Nuveriq — from selecting a product to inviting your team.
Step 1: Find the Right Product
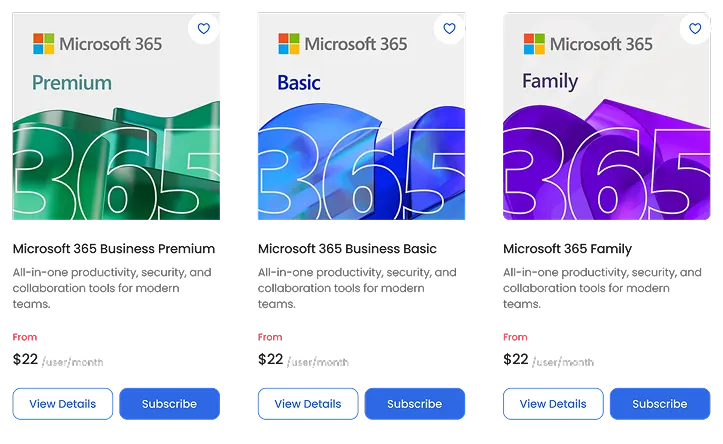
Browse the Software, Cloud, or Solutions sections to find the product that fits your business needs. Click on a product to view its details, features, and pricing options.
Step 2: Choose Subscription
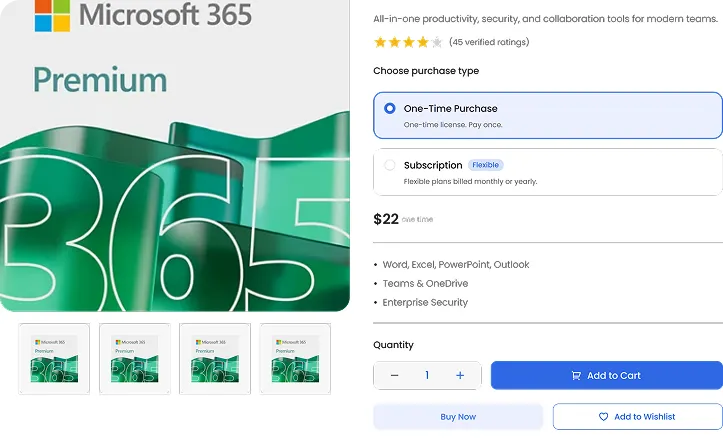
On the product page, select Subscription (Recurring Plan) instead of One-Time Purchase. This unlocks flexible billing and team access.
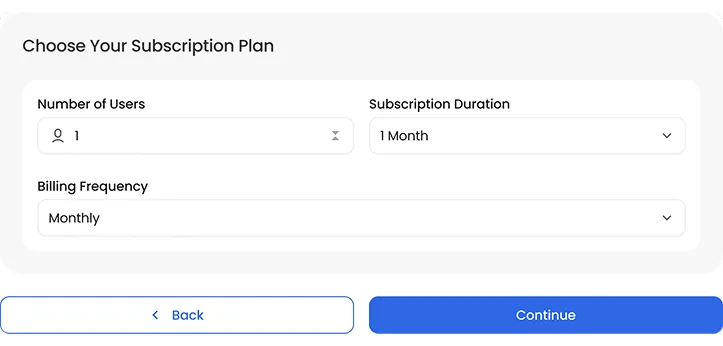
Step 3: Configure Your Plan
Choose:
Number of users
Subscription duration
Billing frequency
Click Continue to proceed.
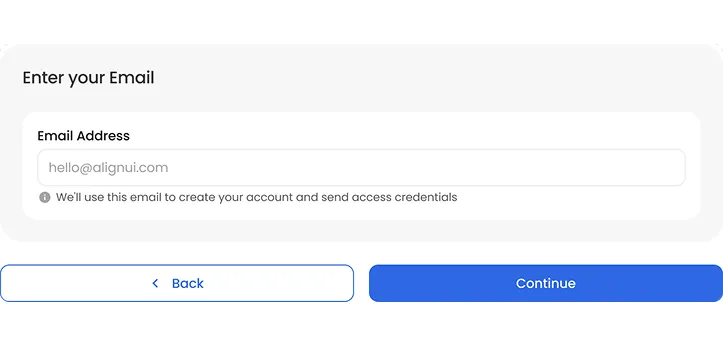
Step 4: Enter Your Email
Enter your business email address.
If you already have an account, you’ll be logged in automatically.
If you’re new, Nuveriq will create your account after checkout.
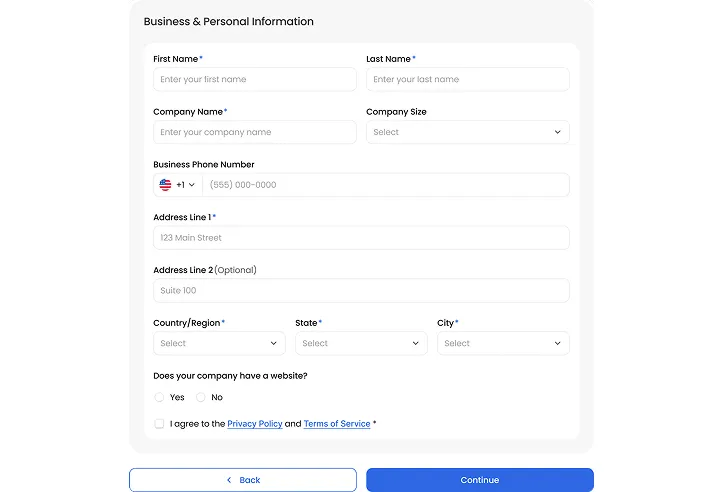
Step 5: Add Your Business Details
Fill in your name, company, address, and phone number.
Accept the Privacy Policy and continue to payment.
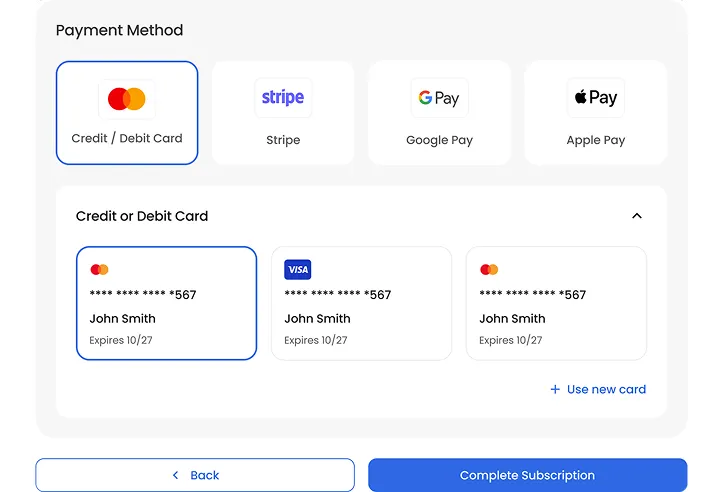
Step 6: Review & Pay
Confirm your plan summary and complete payment.
Step 7: Access Your Product
Once payment is successful:
✔ Your subscription is activated
✔ Your dashboard is ready
✔ You can invite team members immediately
Tips
Use a company email for better account management
Add all users at once to avoid billing confusion
Visit your dashboard anytime to manage plans
Need More Help?
If you run into any issues, visit our Support Page or contact our team for assistance.